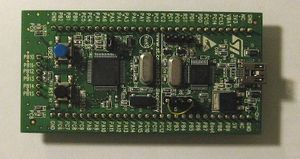
Stm32f100rb stm32vldiscovery
This board is equipped with an STM32F100RB microcontroller, a Cortex-M3 running at 24MHz with 128KB of FLASH and 8KB of RAM. The advantage of this board is that it is very low-cost. The disadvantage is that it has too little RAM to use Miosix comfortably. In particular, any project using more than a couple of threads will probably not fit on this board.
Configuring the kernel
The minimum configuration required is to edit the miosix/config/Makefile.inc file to uncomment the OPT_BOARD := stm32f100rb_stm32vldiscovery line. If you had compiled the kernel before, it is recommended to do a make clean (or in the Netbeans IDE, to click on the "Clean project" button) to avoid leaving object files around. After, do a make to compile.
As this board has very little RAM it is recomended to follow the Miosix_code_size_optimization guide to reduce the amount of memory used by the kernel.
Loading code
The recommended way to upload code to this board is to use stm32flash with an external USB to serial adapter. Connect the serial port to the PA9 and PA10, use a jumper wire to connect the BOOT0 pint to 3V3. Hit the RESET key and upload the firmware using stm32flash. Once it has finished, remove the jumper and hit RESET again to start the program.
TODO: how to use the on-board USB to SWD programmer.
Reading printf output
The board support package of this board simply redirects printf to the serial port USART1 (GPIO PA9 and PA10). You need to use an USB to serial adapter. The serial port baudrate is set to 19200baud, 8N1.
On Linux you can use screen. Open a terminal and type screen /dev/ttyUSB0 115200 (Note that to quit from screen you need to type "Ctrl-C, \"). You'll need to change /dev/ttyUSB0 with your serial port device name.
On windows you can use HyperTerminal, you need to configure it to use the required baud rate, no flow control, and select the correct COM port device name.
In circuit debugging
TODO: it has been done, document it.
(Optional) Configuring the Netbeans IDE
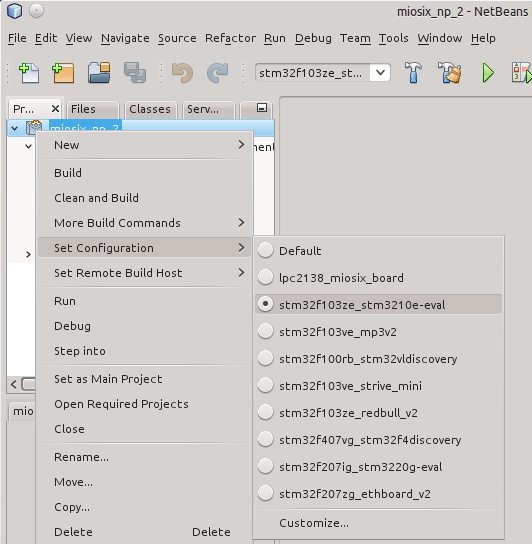
To have a fully working code completion that can also resolve the board-specific symbols, right click on the project, go to Set Configuration and select the right board.

